How To Install ADB Bootloader/Fastboot Drivers on Windows in 2025!
This blog serves to be an updated guide on how to install Bootloader/Fastboot drivers for your Android device. I will be using the Google drivers in this tutorial, so no suspicious downloads will be used at all in this blog!
⚠️ Disclaimer
The information provided in this blog post is for informational purposes only. The instructions, tips, and recommendations outlined herein are provided "as-is" without any express or implied warranty. Attempting to install Fastboot/Bootloader drivers and modify your Android device can involve inherent risks, including but not limited to device malfunction, data loss, or voiding your warranty. Always proceed with caution and at your own risk. It is strongly recommended to back up all important data before proceeding with any driver installations or modifications. The author and publisher of this blog post are not liable for any direct, indirect, incidental, or consequential damages arising from the use of this information. Always refer to your device manufacturer’s official guidelines and consult with a qualified professional if you are uncertain about any step in the process.
This blog serves to be an updated guide on how to install Bootloader/Fastboot drivers for your Android device. I will be using the Google drivers in this tutorial, so no suspicious downloads will be used at all in this blog! First let's talk about what a bootloader is.
An Android bootloader is a low-level program that initializes the device’s hardware and loads the operating system when the device is powered on. It is responsible for verifying and booting the Android OS while enforcing security mechanisms like Verified Boot to prevent unauthorized modifications. By default, most Android devices have a locked bootloader, which restricts the installation of custom firmware and only allows official software from the manufacturer. However, users can unlock the bootloader (if supported), enabling them to install custom ROMs, modify system files, or root the device.
Unlocking the bootloader often voids the warranty and reduces security by bypassing built-in protections. Additionally, the bootloader provides access to Fastboot mode, which is used for flashing firmware, recovery images, and debugging. Properly installing Fastboot drivers is crucial for your computer to communicate with your phone when it’s in Bootloader mode. Overall, the Android bootloader is a critical component in the startup process, balancing security and flexibility for advanced users.
While many manufacturers provide their own drivers, the Google USB Driver is often a reliable universal option for a wide range of Android devices (especially for Google Pixel phones and Nexus devices). If you’re having trouble with OEM-specific drivers, switching to the Google USB Driver can sometimes solve connectivity issues. For this tutorial, I will be using a OnePlus 8.
Prerequisites
- Windows PC: This guide focuses on Windows (Windows 7, 8, 10, 11).
- USB Cable: A high-quality USB cable (preferably the one that came with your device).
1. Enable Developer Options and USB Debugging on Your Phone
- Open Settings on your Android device.
- Go to Settings > About Phone > Software Information (or ‘Settings > About Phone > Version’ on some devices).
- Tap ‘Build Number’ 7 times until you see “You are now a developer!”
- Go back to Settings and look for ‘Developer Options’ or you can simply use the search bar at the top of settings.
- Enable ‘USB Debugging’ in Developer Options.

2. Setting Up Android SDK Platform-Tools
The Android SDK platform-tools include the adb and fastboot executables that will be needed to interact and send the device into bootloader. To begin:
- Download
platform-toolsandUSB driversfrom the Android Developers website.- Platform Tools: https://developer.android.com/studio/releases/platform-tools
- USB Drivers: https://developer.android.com/studio/run/win-usb
- Click “Download SDK Platform-Tools for Windows".
- Scroll to the bottom of the “Terms and Conditions” page and click the checkbox to agree and unlock the download button.


4. Extract them to a convenient folder on your computer (e.g., C:\\platform-tools).
- Add platform-tools to environment variables.


3. Installing the Google USB Driver
- Visit the Google USB Driver page.
- Click “Download the Google USB Driver ZIP file (ZIP)” .
- Scroll to the bottom of the Terms and Conditions page and click the checkbox to agree and unlock the download button.
- Extract the
usb_driverfolder and save the contents in a location of your choosing.

3.2 Rebooting Device Into Fastboot Mode
- Press the Windows key and search for "Terminal".

2. Once terminal is open, you should now have access to the platform-tools executables that we added to environment variables earlier. Now, type the following command to send your device into the bootloader:
adb reboot bootloader

3.3 Manually Update the Driver in Windows (Scroll down for video)
- Connect your phone (in Fastboot mode) to your PC via USB.
- Open Device Manager:
- Right-click the Start button and select Device Manager, or simply search for it in the Windows search bar.
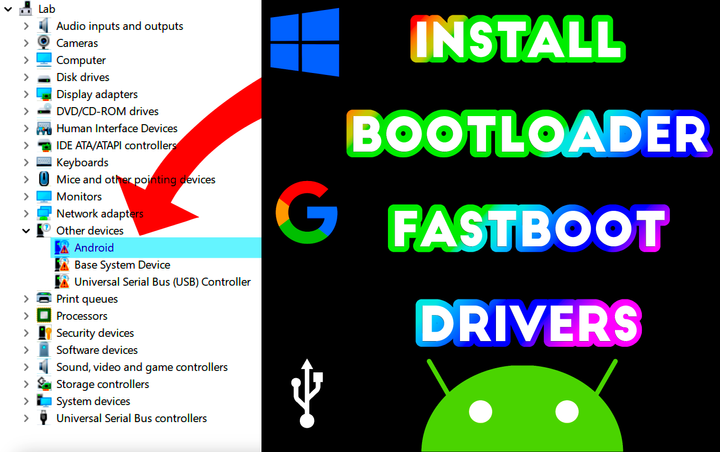
- Look for your device:
- It may appear under Other devices with the name "Android devices".
- Right-click the device name and select Update driver (or Update Driver Software).
- Click Browse my computer for drivers.
- Click Let me pick from a list of available drivers on my computer.
- Click Have Disk...
- Browse to the folder where you extracted the Google USB Driver (
android_winusb.inf). - Select android_winusb.inf and click Open.
- Choose Android Bootloader Interface from the list.
- Click Next to install.
- If you see a warning about the driver not being signed, you can proceed by clicking Install this driver software anyway.
Once complete, you should see a message that the driver has been successfully installed.

4. Verifying the Installation
After installing the driver, it’s good practice to verify that Fastboot recognizes your device:
- Open a Command Prompt or PowerShell window in the folder where you have
fastboot.exe(e.g.,C:\platform-tools). - If the driver installation is correct and your device is in Fastboot mode, you should see a device ID followed by the word fastboot.
- You can now issue Fastboot commands such as:
fastboot devices(Or a more fun command like this one 😉. Stay tuned for a rooting tutorial in the near future...)
fastboot oem unlock # This command various per device.
Troubleshooting Tips
- Enable Legacy Boot Mode (Windows 7/8): Some older versions of Windows may have driver signature enforcement issues. Temporarily disable driver signature enforcement if you encounter errors about an unsigned driver.
- Try Different USB Ports/Cables: A faulty cable or USB port can prevent proper driver installation.
- Check OEM-Specific Drivers: Some devices may require the manufacturer’s driver, especially if the Google driver doesn’t work.
- Disable Antivirus/Firewall: In rare cases, security software can interfere with driver installation. Temporarily disable if necessary.
- Reboot the PC: Sometimes, a simple reboot after installation can resolve lingering driver recognition issues.
Remember: Always exercise caution when using Fastboot commands. Make sure you follow device-specific guides for flashing or unlocking to avoid bricking your device.
Thanks for reading! If you have any questions or run into issues, feel free to leave a comment below, join our Discord, or reach out on the official Android developer forums or relevant device-specific communities. Happy flashing!